Bypass Windows 11 Microsoft Account requirement during initial setup
When setting up a new Windows 11 computer, it’s generally required that you sign in or create a Microsoft account in order to complete the set up. There are some cases where you may want to avoid linking to an online account like this – you can use this article as a guide for how to bypass this requirement. This method has been tested and confirmed to work as of September 2024.
- Boot the computer normally and wait for the first window of the Windows 11 initial set up
- Press Shift+F10 on the keyboard to bring up a command prompt window
- Enter the following command in the command prompt window and press Enter: OOBE\BYPASSNRO
- The computer will reboot, wait until it’s back to the initial set up screen
- Once the initial set up screen is back, if you’re using a wired connection you will need to complete some additional steps (alternatively you can disconnect your computer from the ethernet cable and go to step 9)
- Press Shift+F10 and enter this command in the prompt to show your network interfaces:
netsh interface show interface - Identify the interface name from the previous command and substitute it into the following command in place of INTERFACE_NAME_HERE:
netsh interface set interface name=”INTERFACE_NAME_HERE” admin=DISABLED - Close the command prompt window, then continue with the initial set up
- You will eventually get to a screen that asks you to connect to a network, but now you will have the option to click I don’t have internet – click on that option. Then click Continue with limited setup to proceed
- Continue the rest of the setup how you normally would to create a local account, eventually you will get to the desktop. Once you’re on the desktop you can reconnect to the internet
- If you used the netsh command above instead of physically disconnecting the cable from your computer, then you can use the following instructions to enable your network adapter again. Press Win+X and click Windows PowerShell (Admin) which will open a PowerShell window, enter the following command in the window while substituting INTERFACE_NAME_HERE with the actual interface name you used earlier:
netsh interface set interface name=”INTERFACE_NAME_HERE” admin=ENABLED
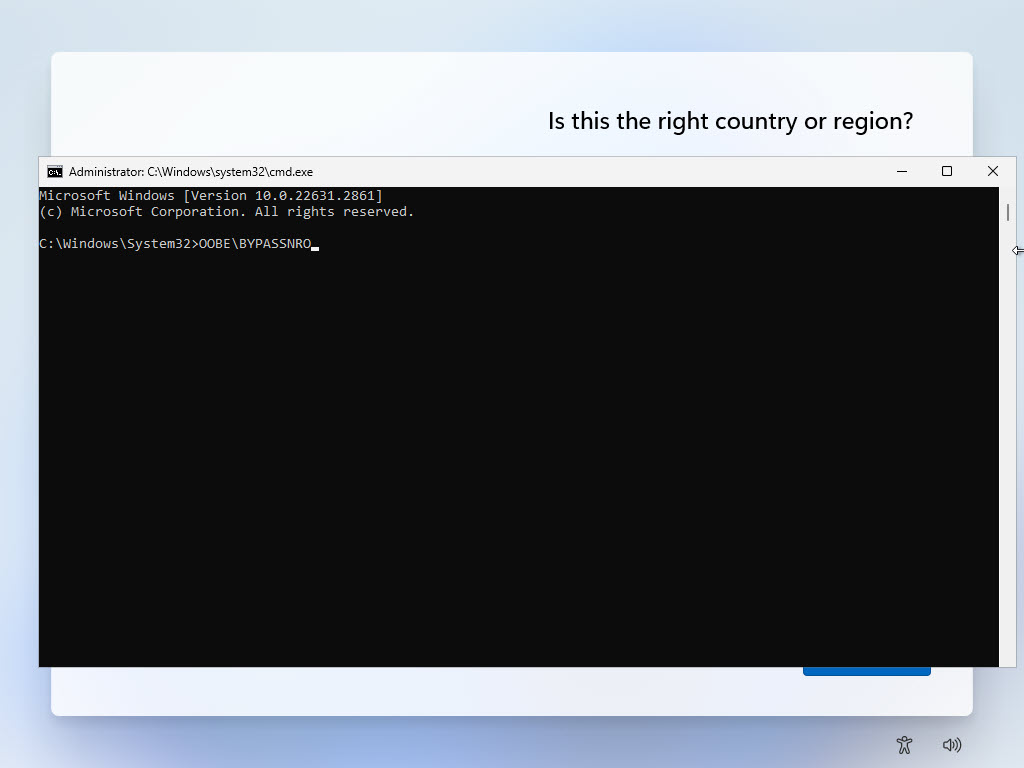
Step 3

Step 6
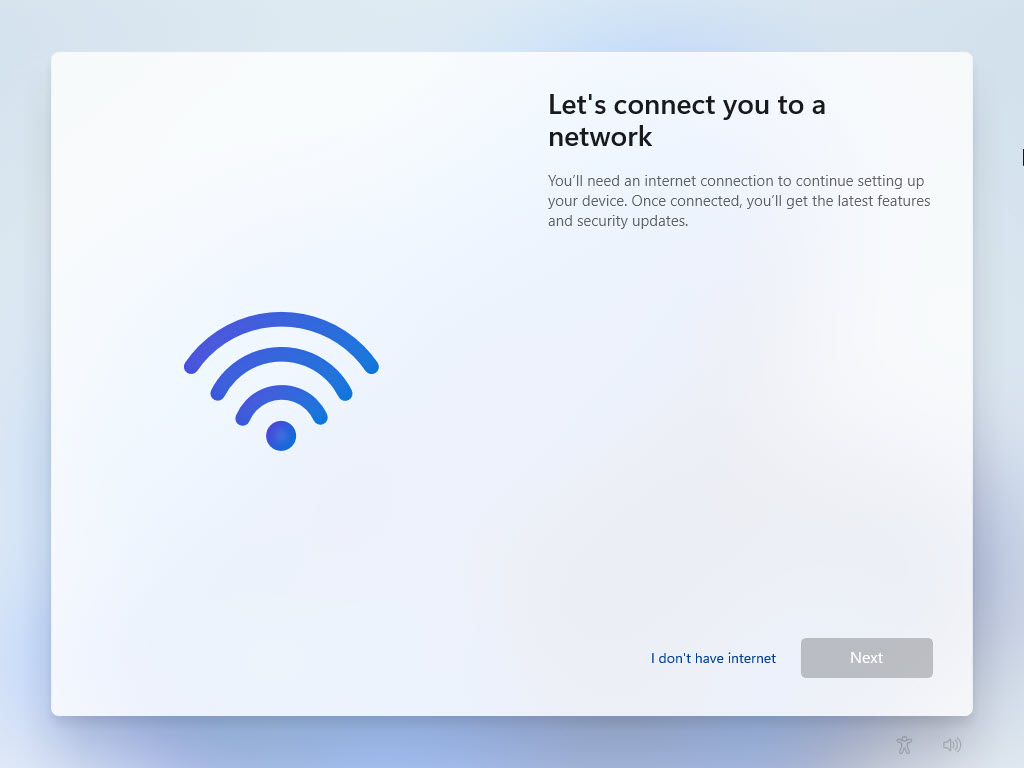
Step 9
Did we miss something?
or do you want to suggest an article?
