Using OneDrive to share and receive files
Included in most Office 365 subscriptions is OneDrive cloud storage. OneDrive is a very versatile cloud file storage system that can make your life easier in regards to file access and sharing. This article will cover how you can securely share files to others as well as how you can allow others to provide files directly to you if need be.
Sharing files to others
- Log in to microsoft365.com to access your OneDrive
- Locate the file (or folder) you want to share, then click the share icon beside it’s name
- Set the permission level to something appropriate – it’s recommended to select Specific people and only provide access to those individuals as a security measure but you can use other permission scopes if you need
- Optionally you can change the settings under More settings which can enable editing, Block downloads and if you’re setting the permission scope to Anyone then you can set an expiry date for the share as well. Click Apply when you’re done
- Enter an email address who you want to be able to access the shared file or folder. Alternatively you can simply click Copy Link and provide that to the individual however you prefer
If you entered an email address for sharing then Microsoft will send an email on your behalf to the address(es) with a link that allows access to your shared file or folder. If you set the permissions level so only specific users can access the content then they will be required to verify their email address when they first attempt to access the content as well.
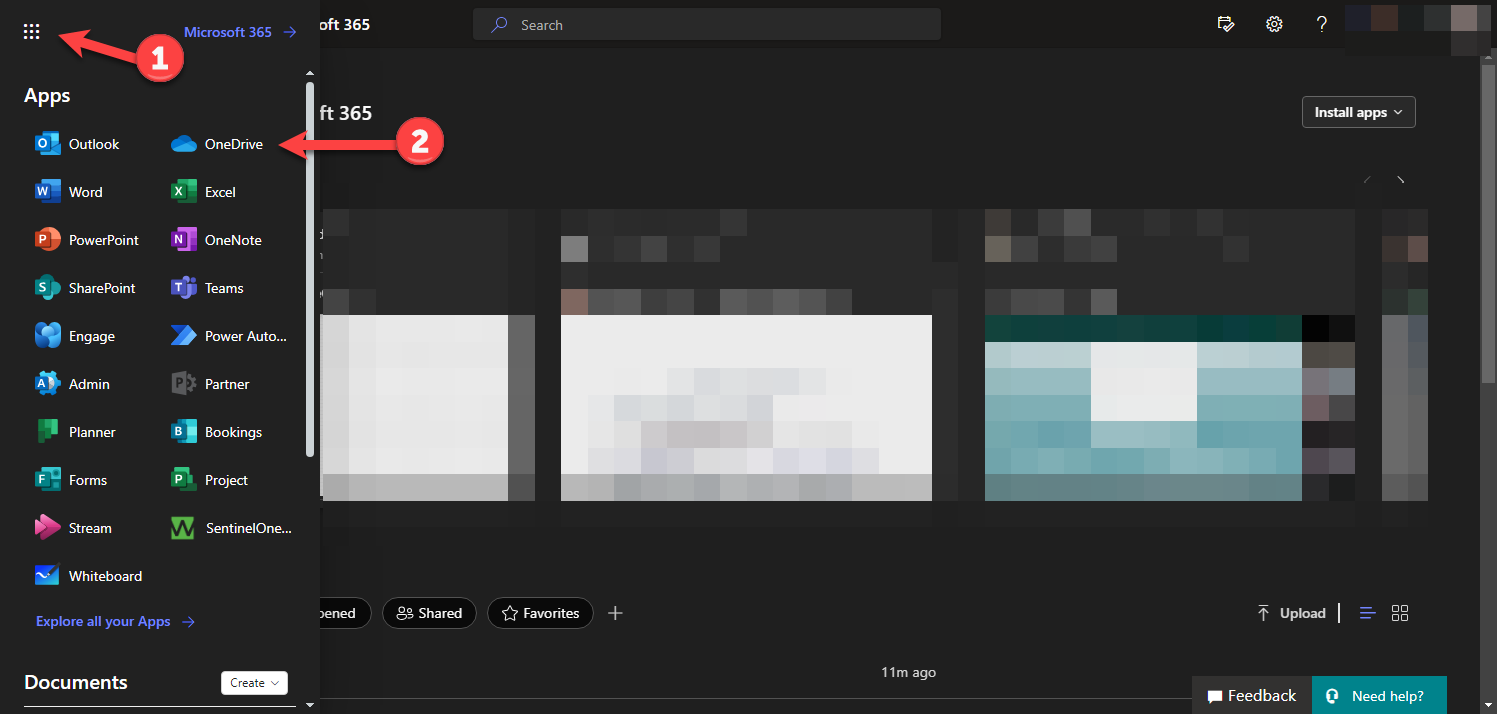
Log in and access OneDrive
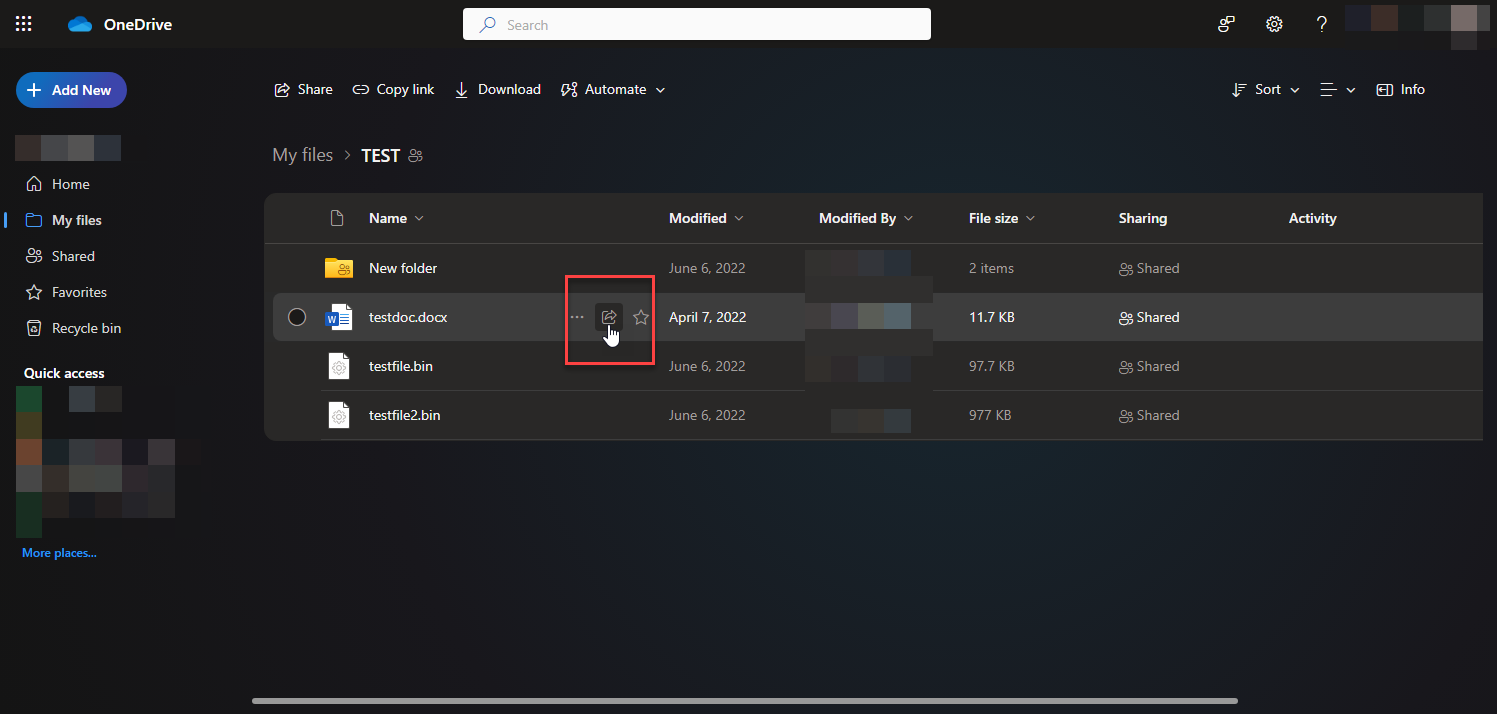
Locate the file and click the Share button
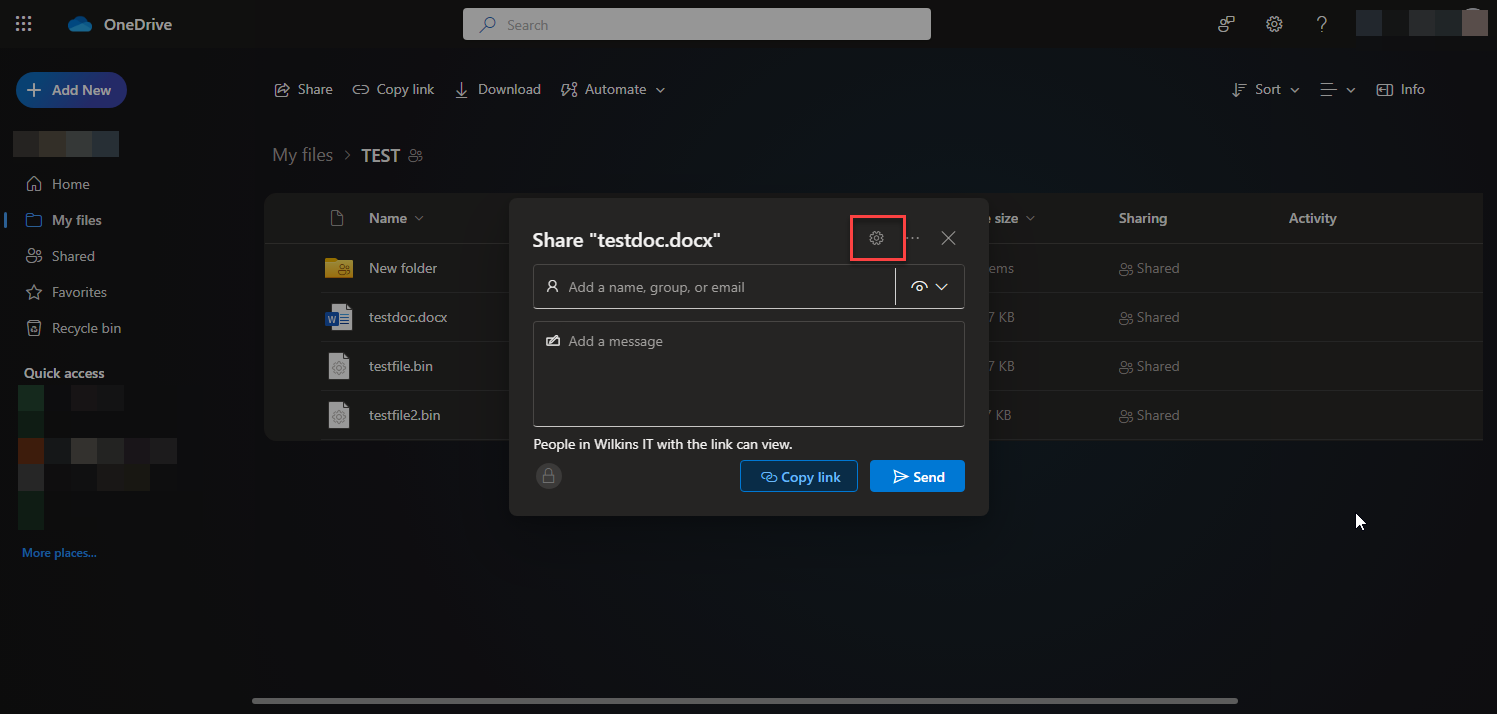
Modify the permissions/options

Setting the options for the share
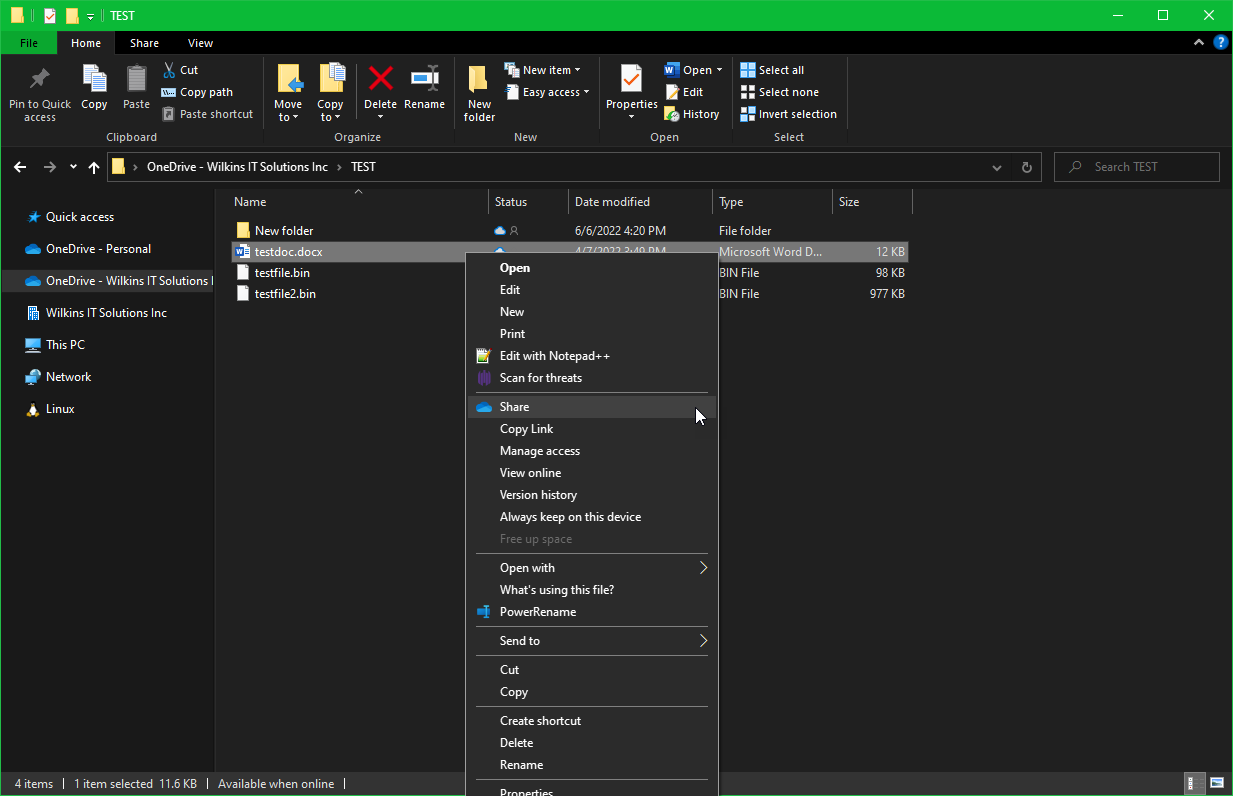
Sharing a file on Windows
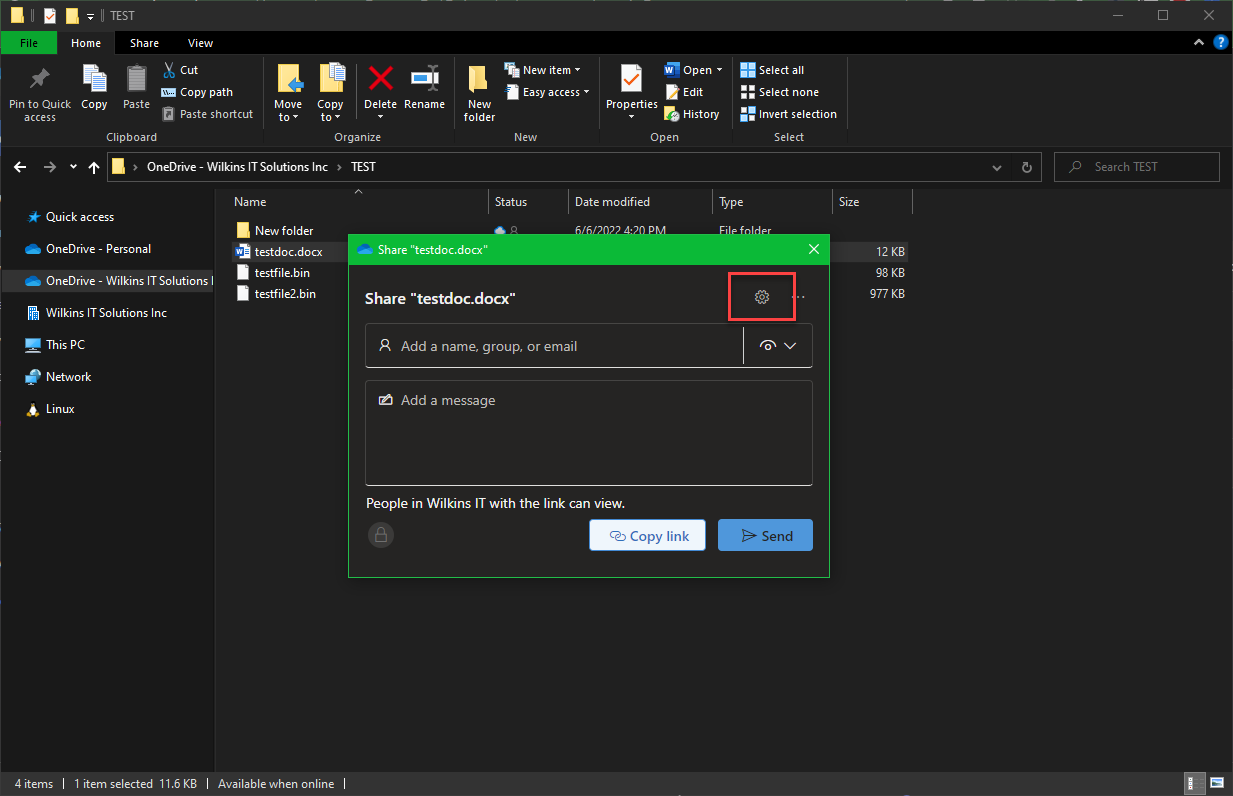
Modify the options on Windows
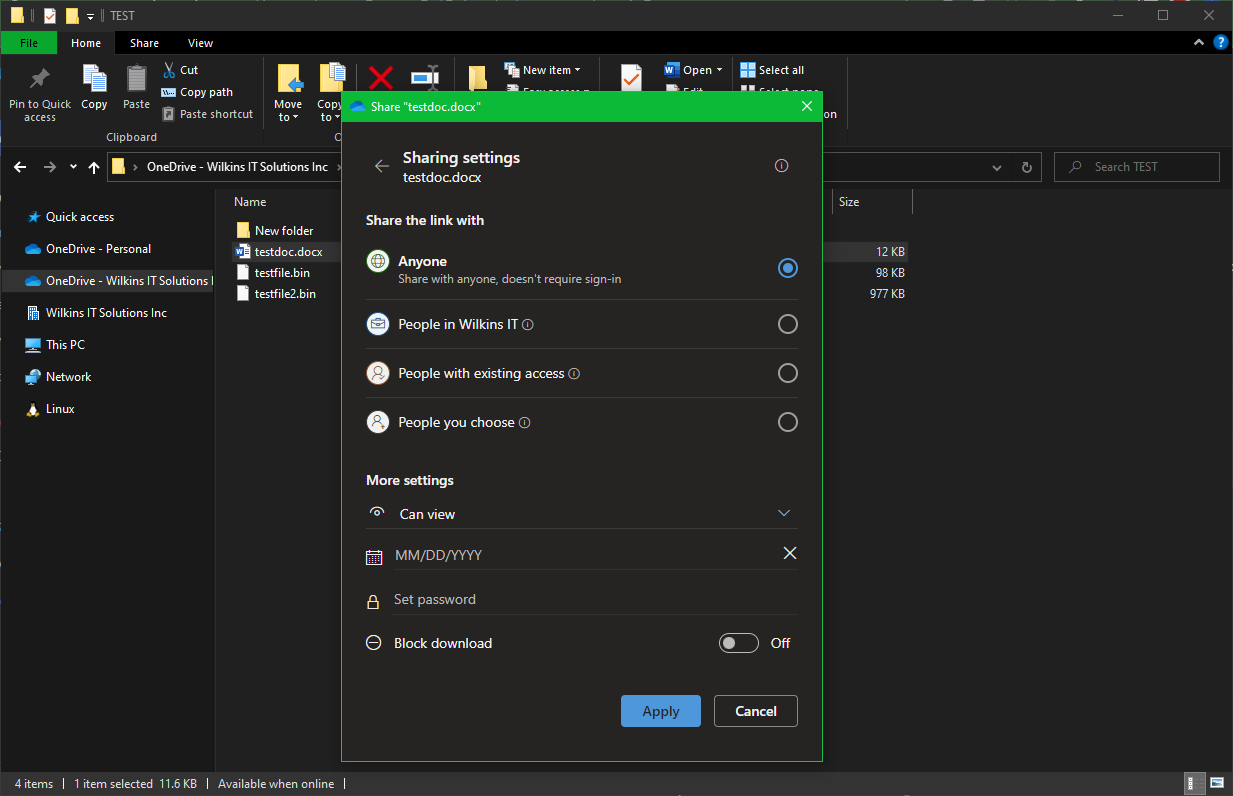
Setting the options on Windows
Receiving files from others
You can allow a user to upload a file to any folder inside your OneDrive account, however we recommend making a specific folder just for this purpose. If you decide to allow someone to upload to an existing folder of yours, just be aware that they will have access to any other files and content inside that folder as well as the ability to edit that content! Note: If your organization has File Requests enabled you can use this more robust method that doesn’t allow viewing the content of the shared folder so it acts purely as a drop box.
- Log in to microsoft365.com and access your OneDrive
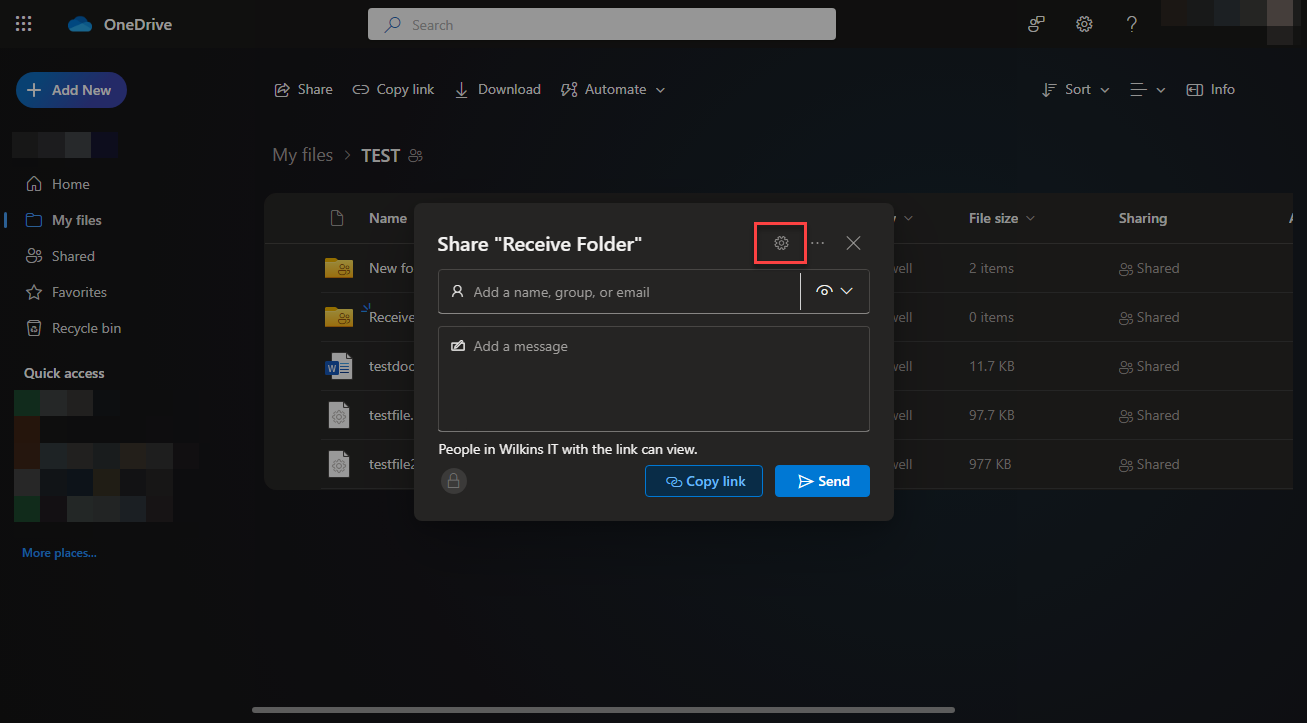
- Locate the folder you want to receive the file in and click the share icon beside its name
- Set the permission level to something appropriate – we recommend setting permissions to allow only individuals you specify access. Make sure you enable the Allow editing setting when setting the permissions
- Enter email address(es) for the individual(s) who should be able to provide the files to you then click Send. Alternatively you can click Copy Link and simply provide that URL to the individual(s) by whatever method you prefer
- When the user accesses the link you created then they will have the option to upload a file through their web browser. They can either drag and drop the file into the web browser, or use the Upload option found on the toolbar of the page (near the top)
If you entered an email address for sharing then Microsoft will send an email to the address(es) with a link that allows the user to access that location. If you set the permissions level so only specific users have access then the user will need to verify their email address when attempting to access the link.

Click the Share button in OneDrive
Change the settings on the share
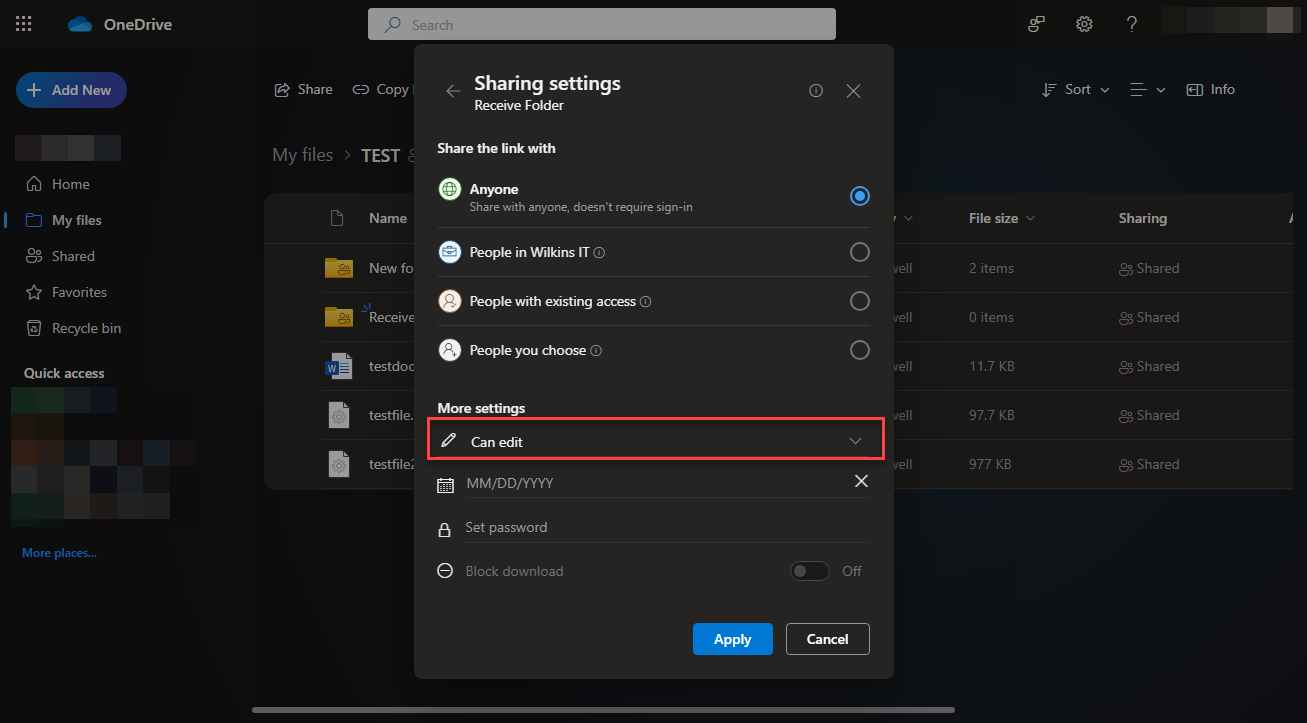
Setting the permissions to allow Editing
Did we miss something?
or do you want to suggest an article?
